See video tutorial if you prefer.
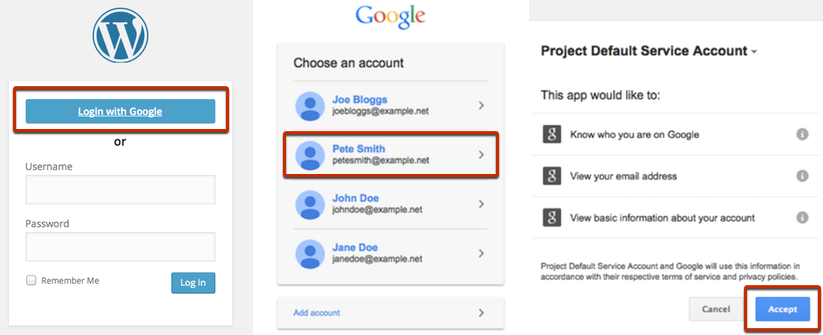
The Google Apps domain admin needs to go to https://console.developers.google.com/ (link will open in a new window). If you are not the domain admin, you may still have permissions to use the console, so just try it. If you are not using Google Apps, then just use your regular Gmail account to access the console.
In the Google Developers Console, click Create Project, and in the box that appears enter any name of your choice (such as your website’s name) before clicking Create. You may be required to accept a verification phone call or SMS from Google.
Next, click into the new project, then click APIs & Auth in the left-hand menu, and select the Consent screen sub-menu. You must select an Email Address if one is not already selected. You must also enter your company or blog name in Product name. Optionally, you can add your logo and other URLs to customize what your users see when they first login.
Then you must create a new ‘Client ID’ within the project, of type ‘Web Application’. To create this, you need to click Credentials (another sub-menu of APIs & Auth), then click the blue Create New Client ID button. Make sure you select Web Application as the Platform type.
Beneath that, input the following items into your new Google ‘Client ID’:
- Authorized Javascript origins:
http://teachingsagittarian.com/
- Authorized redirect URI:
http://teachingsagittarian.com/wp-login.php
Once you have created the application (click the blue Create Client ID button), you need to turn to the Client ID for web application section to be able to complete the following steps.
You will see a Client ID and Client Secret which you must copy and paste into the boxes back on the WordPress plugin settings screen – i.e. back in your WordPress admin, under Settings -> Google Apps Login.
If you plan to use our Google Drive Embedder extension plugin, then you will also need to enable the ‘Drive API’ and ‘Calendar API’. To enable these, in the Google Developers Console, beneath APIs & Auth in the left-hand menu, click APIs. Under ‘Google Apps APIs’ (or by searching), locate each of Drive API and Calendar API and click into them so you can click the ‘Enable’ button. If you are using the Enterprise version of Google Apps Login, you will also need to enable Admin SDK.
For certain extensions (Google Apps Directory, or the Enterprise version of Google Apps Login) you may also need to follow the instructions to set up a service account. If in doubt, please ignore for now.
Keep reading (or come back later) to find out some of the advanced options to get your Google login working exactly how you want it.
Advanced Options
You and your users will be able to use Google Apps Login perfectly fine if you simply ignore the Advanced Options section. However, there are two options, plus an extra little trick, that will allow you to customize the exact login flow as you desire.
Force user to confirm Google permissions every time
If checked, users will have to fully authorize your site to Google every time they login. This may make the login flow clearer for users who are currently logged into exactly one Google account, and also gives them the chance to login to a different Google account instead. However, the login flow is quicker if you leave this unchecked.
Automatically redirect to Google from login page
If checked, all users will be automatically forwarded to the Google login flow when they access the /wp-login.php page. If your users only ever use ‘Login via Google’, this saves them having to click that button on the login page to initiate the process.
Login page redirect override
It is not a setting in itself, but a trick that you may use to override the behavior of the last setting described (i.e. Automatically redirect to Google from login page). Whether or not that setting is checked, you can send users to /wp-login.php?gaautologin=true to ensure the automatic redirect happens. Likewise, you can send users to /wp-login.php?gaautologin=false to ensure the full WordPress login form is displayed, giving them the choice of username/password or ‘Login via Google’, regardless of the Automatic redirect setting.
This can be useful if you want, for example, a link in your sidebar advertising the Google Login functionality as a direct link, without forcing it on all users at all times.
Display ‘Powered By wp-glogin.com’ on Login form
Uncheck this to remove the attribution link on your login page. Of course we are thrilled if you want to spread the word about our product, but it’s no problem if this is not appropriate for your site. It can also be useful for future admins of your site to understand immediately how you have implemented Login with Google, and to come to us for support.
Multisite Options
You do not have a multisite network WordPress installation, so this section is not applicable to you. These options will not be displayed in your admin panel.By default, all logins need to be submitted via the root site (since that is the only Redirect URL you were asked to submit to Google Cloud Console when you first set up the plugin). That should be fine to get you started, so please just try it out, but you may find that users are sometimes redirected to unexpected pages, depending on where on your network of sites they decided to login.
If have a small number of sub-sites, and new sub-sites are not expected to be added often, you might prefer to register additional Redirect URLs with Google for each of your sub-sites, in addition to the root site you were asked to enter when you first configured the plugin. For example, you may end up listing all of https://mywpsite.com/wp-login.php, https://mywpsite.com/subsite1/wp-login.php, and https://mywpsite.com/subsite2/wp-login.php as Redirect URLs in the Google Cloud Console.
You will then need to check the box in the Multisite Options section of the plugin’s admin panel labelled Use sub-site specific callback from Google. This will cause all logins submitted to the sub-site they were invoked on.