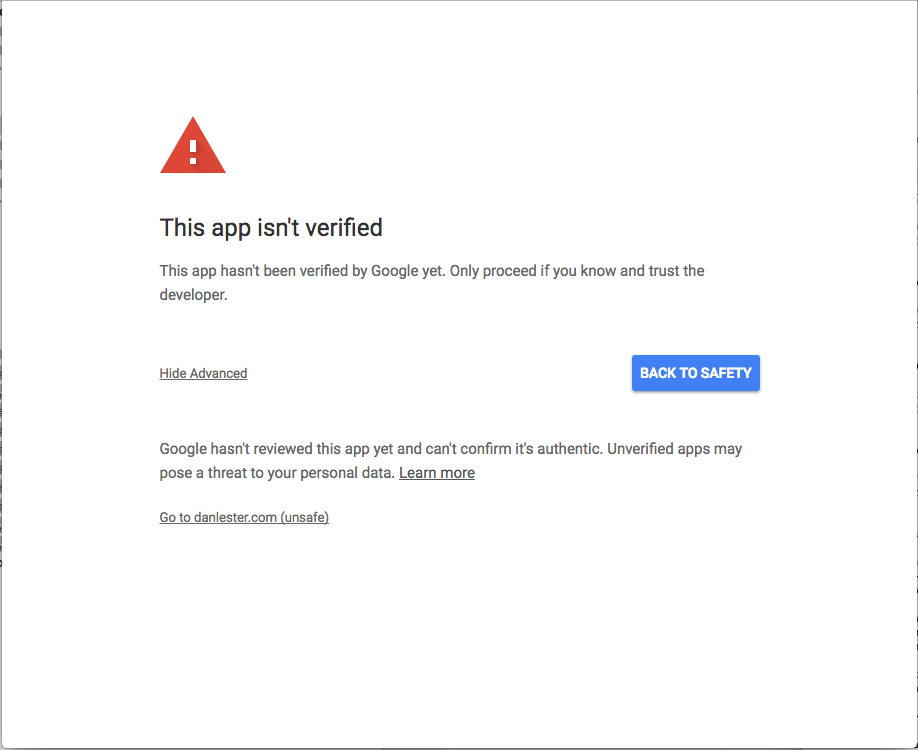
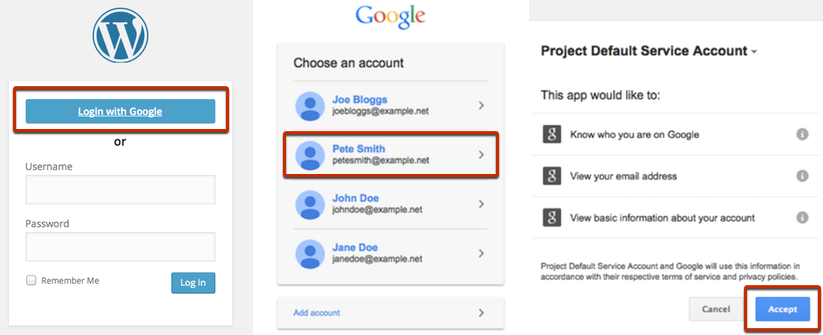
When you first configure Google Drive Embedder, users may face the following screen when they attempt to ‘Add Google File’:
This is due to Google’s attempts to reduce malicious third-party applications. You can continue to test the app by clicking ‘Show Advanced’ and then ‘Go to site (unsafe)’. Your users can also do the same.
Most well-established G Suite domains should not face this check, but Gmail and free accounts especially may be required to submit their app for verification.
You can see Google’s instructions for submitting your app.
Note that you will need to resubmit your project for approval if you change URL details or the site name, such as upgrading from http to https or moving your site to a new domain, so it makes sense to ensure everything is working first, using the testing procedure outlined above.
Some pointers to help you fill in the form
Most of the relevant information can be found in the Google Developers Console project you set up to configure Google Apps Login.
Under API Manager > Credentials
Within the first Credentials tab, under OAuth 2.0 client IDs tab, click into the ‘Web application’ that you set up, probably called ‘Web Client 1’:
OAuth Client ID – this is the Client ID at the top of the screen, looks something like 123124125-g6lo114bkkqere6k0d6ktrvi5k.apps.googleusercontent.com. This is what you copied into the Settings -> Google Apps Login page in WordPress.
Within the second OAuth consent screen tab:
Product name that will appear on the scope consent screen – this is what you typed in the ‘Product name shown to users’ box.
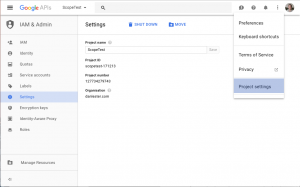
In the very top bar of the Google Developers Console screen, there is a ‘three dots’ menu towards the right hand side of the screen. In that menu, select Project Settings. This will display a page including the ‘Project ID’ which is what you should enter in the ‘Project ID’ field of the verification form:
Project ID – this is the Project ID obtained as described just above.
Link to your privacy policy – this should be some simple privacy policy text on your site, which you probably need in place anyway, explaining what you will do with the user’s data. An example on our site is here.
What scopes does your app need to access? – “https://www.googleapis.com/auth/drive.readonly, https://www.googleapis.com/auth/drive, https://www.googleapis.com/auth/calendar.readonly”
List the specific ways your app will use each of the scopes you’re testing – “My app will use https://www.googleapis.com/auth/drive to display a list of the user’s Drive files allowing them to select for display within the website; and https://www.googleapis.com/auth/calendar.readonly to select from a list of their calendars to be embedded in the website; both will be available through the ‘Add Google File’ button in the page editor. It will use https://www.googleapis.com/auth/drive to display embedded folders within the site and allow the user to drag-and-drop files to upload.”
Please get in touch if you need any assistance or have anything unusual to report.


