This is the second part in our blog series talking you through setting up a typical corporate intranet using WordPress. See our introductory Part 1 if you missed it.
As we explained, you can host your WordPress intranet on any webserver, just as though you were building a public-facing website. This article covers how to configure your intranet WordPress installation so that it will not be accessible to unauthorized visitors on the web. You only want employees, who will be given their own accounts to login, to be able to view or edit the information.
Membership Plugins
There is a lot of advice on the web about setting up a WordPress intranet, and it often recommends some excellent plugins that are designed for building ‘membership sites’, often for paying subscribers. These are not normally what you want.
It may be possible to use such plugins to achieve the result you want – which we assume for a corporate intranet will just be ‘all or nothing’: either you’re an employee who should be able to see everything, or you’re not and you shouldn’t be here. (Of course, you may also want more granular privacy control if you have a larger organization.)
But generally speaking, these membership plugins will make the process complicated for your needs, geared up to leave some ‘teaser’ content public in order to entice visitors to purchase a membership, as well as the functionality to collect paid registrations and other ‘public-facing’ duties. You don’t want to charge your employees to sign up!
The More Privacy Options Plugin
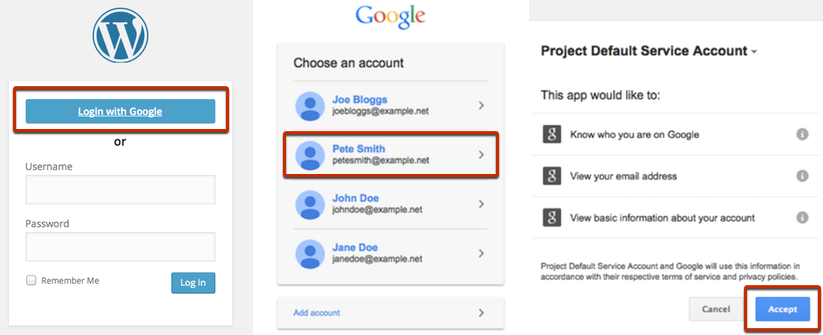
All you need is something that makes every page of your website private by default. If someone tries to access it when not logged in, they are simply redirected to the login page until they sign in successfully.
That’s pretty simple, and there are a couple of simple plugins that solve this problem perfectly without adding unnecessary complexity. The one we’ve chosen will work well for single-site or multisite installations – in the latter case, allowing you the flexibility to leave some subsites public, or to blackout the whole site for good if you wish.
The More Privacy Options plugin will allow you to make your entire network private. It can also allow you to make only selected subsites private.
To install, go to Plugins in your admin panel (the Network Admin panel for multisite installations), click Add New and search for ‘More Privacy Options’. Install and then Activate (or Network Activate on multisite). Under Settings -> Reading (or Settings -> Network Settings) you will have some new options allowing you to make the entire site private.

Please note that if anyone knows the full URL to any images or other media on your site, they will still be able to access it even if this plugin is enabled and they are not logged in.
Disable Self-Registration
As a final step to securing your site against unwanted visitors, you must disable new user registration – for now you must assume that only the admin will be allowed to add your employees as users. Even if you can’t see a link for visitors to register, they could go straight to /wp-signup.php and create a username and password for themselves.
To prevent this from happening, you must check the following settings:
Multisite self-registration
In your Network Admin panel, go to Settings -> Network Settings and ensure ‘Registration is disabled’ is selected. Then save settings.

Single-site self-registration
In your Admin panel, go to Settings -> General and ensure ‘Anyone can register’ is unchecked.

Next time…
Now you know how to block out unwanted visitors, so in the next part of this series we will describe how to make sure your employees can access everything! It’s now available here.
Update
Since writing this intranet guide, we received a lot of feedback asking if there was a simpler way to turn WordPress into a typical corporate intranet instead of having to cherry-pick features from a series of free plugins. So we released our own All-In-One Intranet plugin. If you want to cut to the chase and set up your intranet quickly and easily, backed by expert support from ourselves, see more details and purchase here: All-In-One Intranet product page.
2 Comments
What if we just want to make a page and its subpages private? User clicks on a private page link and then is redirected to login with their google account. Are there good solid plugins for this?
Andy,
Thanks for your comment! We were specifically looking for a simple plugin that only restricted entire sites, but in our search came across a few others that have the extra functionality you describe. You could try one of the ‘membership’ plugins (which might still be more than you really want), or this plugin seemed the most promising solution at first glance:
http://wordpress.org/support/plugin/contexture-page-security
Please let us know what works for you.
Dan
Comments are closed.